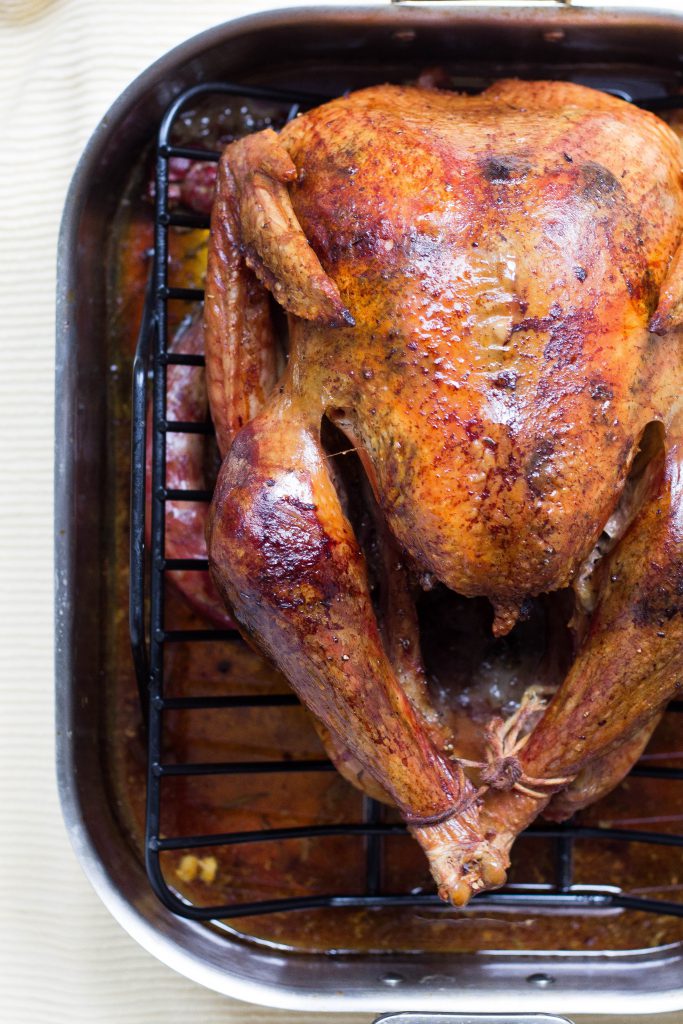
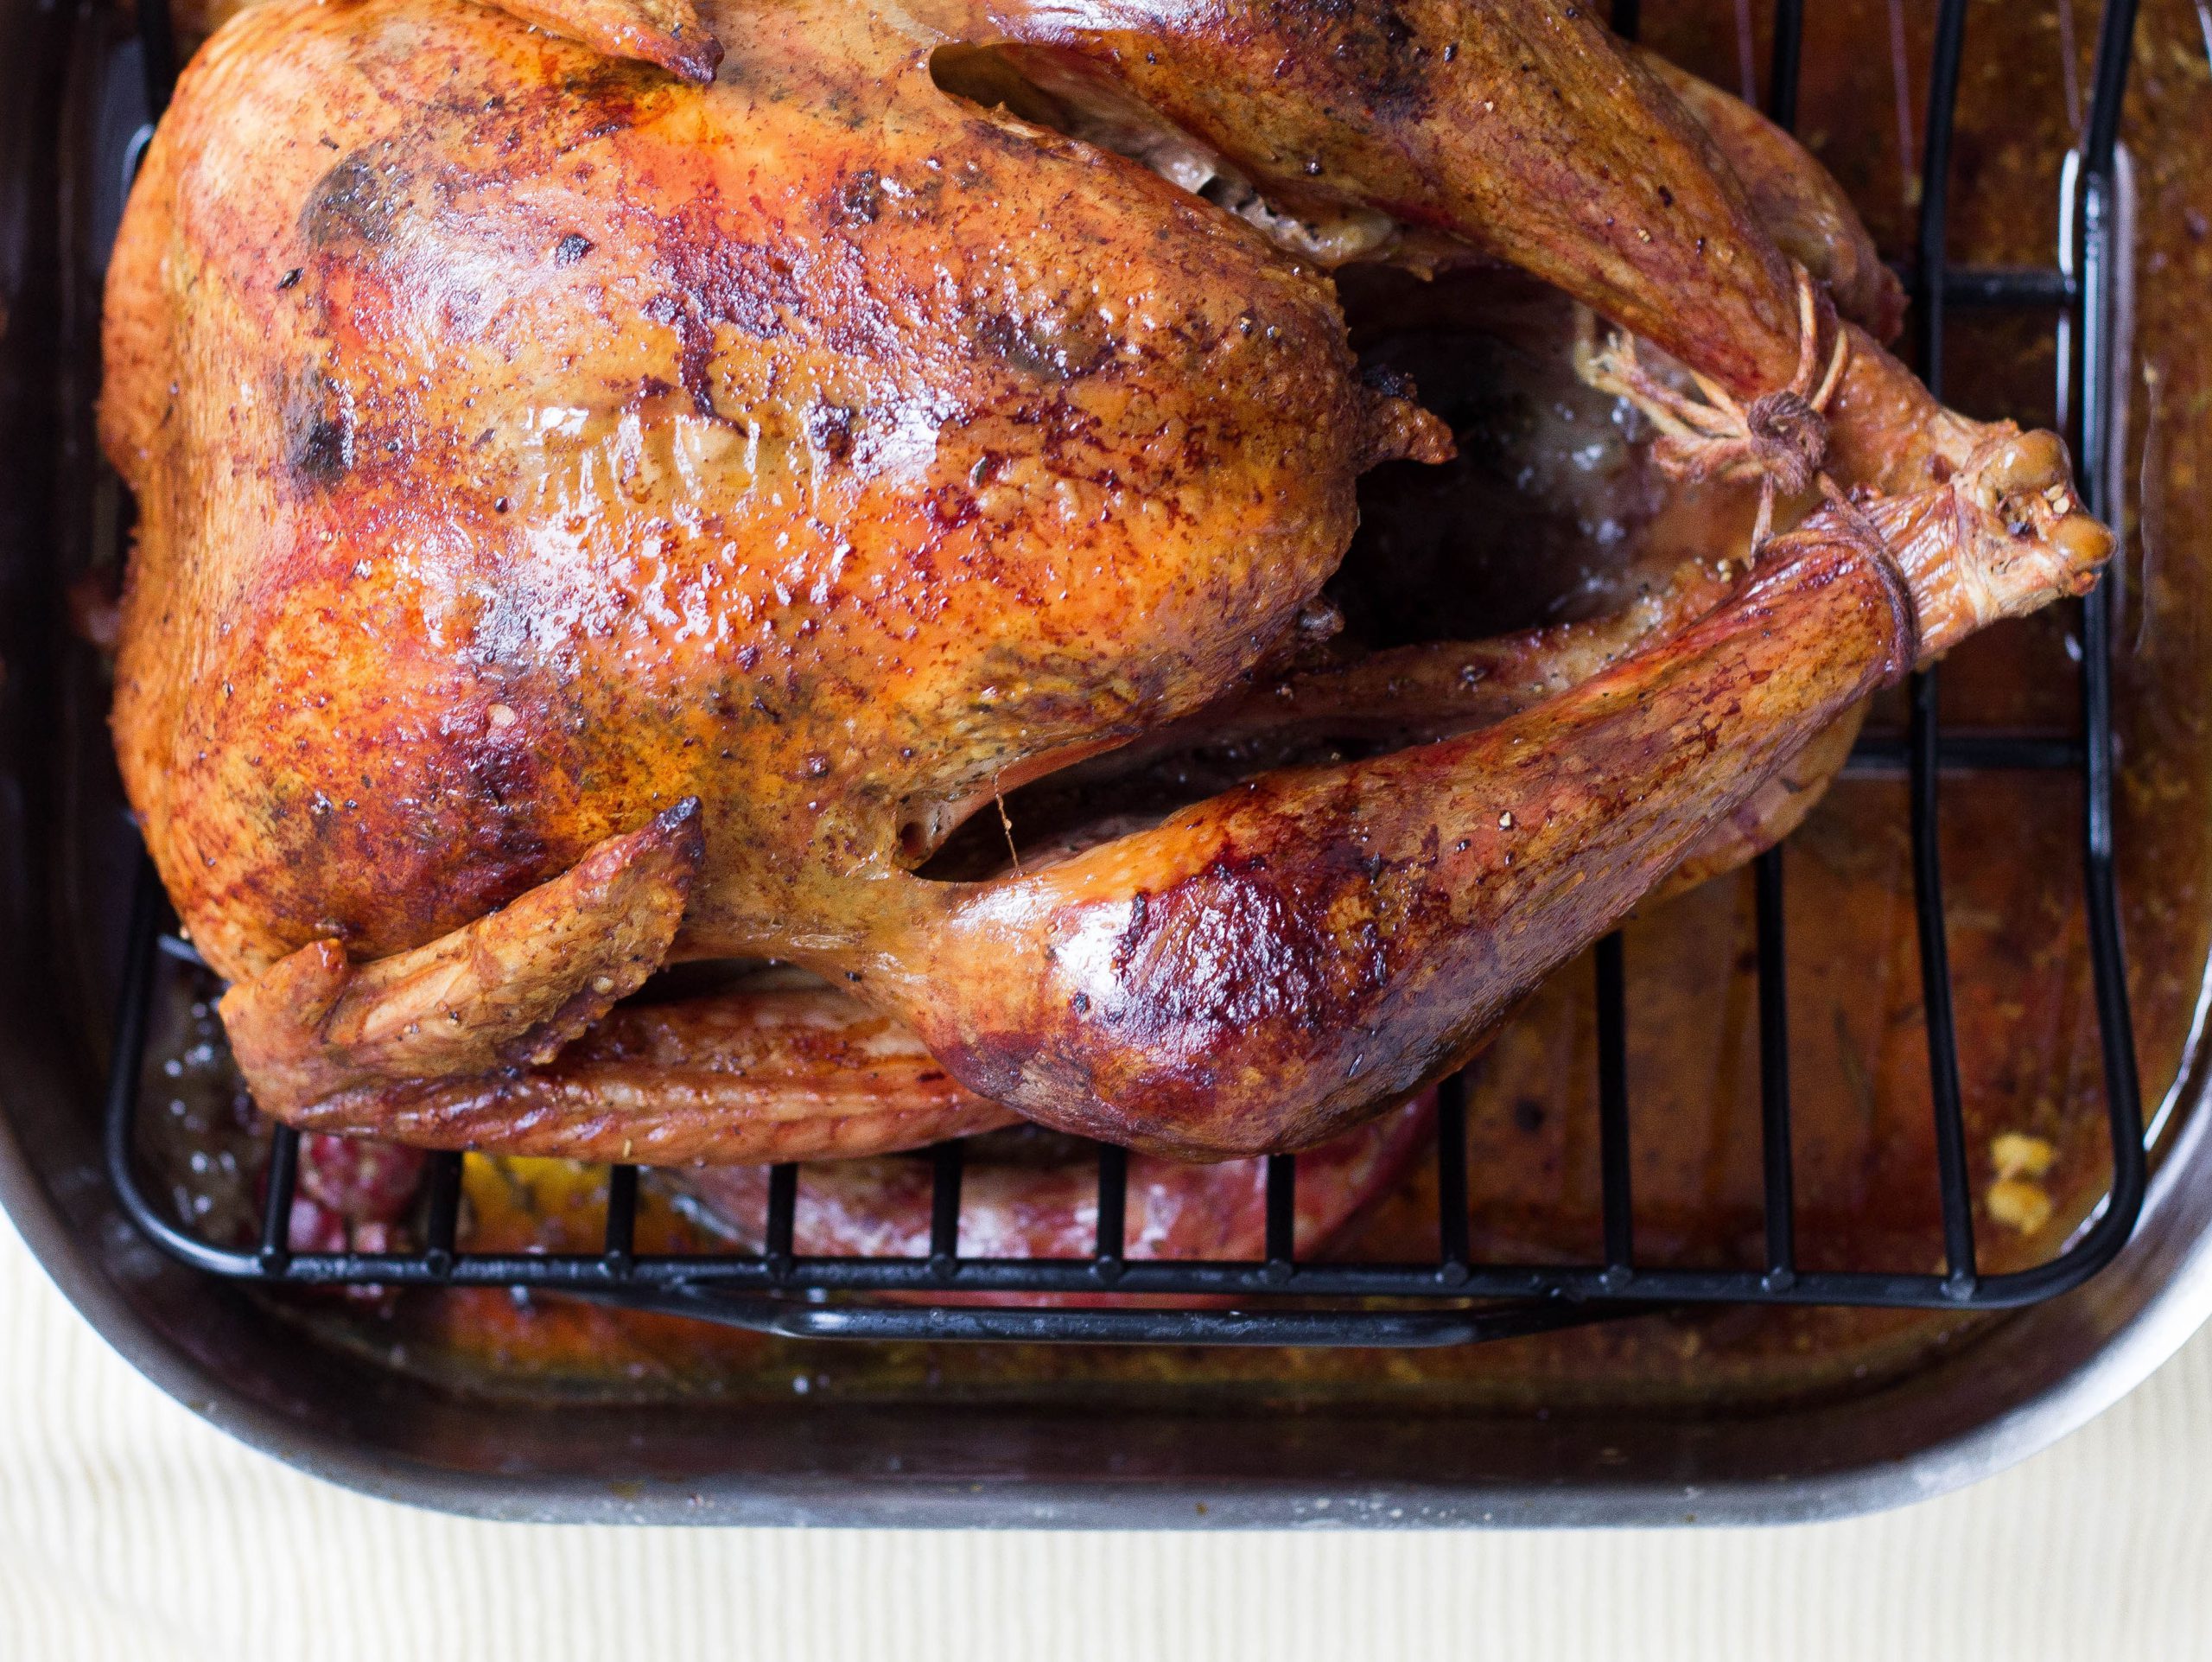
Thanksgiving is right around the corner, which means it’s time to thaw the turkey and gather ingredients for your Tamari turkey brine.
A soy sauce brine is a unique way to unlock and enhance the delicious flavor that’s already in your turkey. By creating a simple turkey brine with soy sauce, you can add your own twist to this Thanksgiving staple.
Why You Should Brine
Brining serves as a safeguard to avoid a tough, dried out bird. A brine is a simple mixture of salt and water to help the turkey absorb moisture and seasoning.
We’ve enhanced the typical approach to brine in this recipe, minimizing the amount of salt and allowing Tamari Soy Sauce to bring an umami flavor to the dish. The resulting soy turkey flavor is subtle and will blend perfectly with your traditional Thanksgiving menu.
Follow these tips for the juiciest Thanksgiving turkey.
One Day Before Roasting
Whether this is your first time making a Thanksgiving turkey or you’re a seasoned pro, you probably know that it’s important to start prepping before the big day. The turkey needs at least 8 hours to brine, so you’ll need to start the process the day before you plan to roast it. If you want crispier skin, start the process two days before roasting to allow a 24-hour drying period.
Gather Your Brine Ingredients
Next, you’ll want to make sure you have all of the ingredients you need to create your soy sauce turkey brine.
A soy sauce brine is easily customizable. For a 16- to 24-pound turkey, start with these simple ingredients:
- 2 gallons cold water, divided
- 1/2 cup salt
- 1 10 oz bottle SAN-J Tamari Soy Sauce
Tamari is a type of soy sauce that is made with all soybeans or a small amount of wheat. At SAN-J, we make our Tamari with 100% soy. By using Tamari Soy Sauce, you can enhance your turkey with all of the flavors of typical soy sauce without gluten — so everyone at your Thanksgiving table can enjoy your dish. You’ll also end up with a richer and more complex flavor.
This step is where the opportunity for customization comes in. After you gather the three primary ingredients, consider boosting the flavor of your soy brine with some herbs, aromatics, and sugar. These ingredients are optional, so pick and choose your favorite combination, or simplify the recipe by skipping them entirely:
- 1/2 cup sugar
- Orange or lemon, wedges or peels
- Red pepper flakes
- Garlic cloves or powder
- Peppercorns
- Ginger root or powder
- Sage, dried or fresh
- Thyme, dried or fresh
- Bay leaves
- Whole cloves
You can use granulated sugar, coconut sugaror any liquid sugar. You can also use sugar alternatives to boost the sweetness of your dish while sticking to a healthier lifestyle. Try molasses, agaveor maple syrup. For the best results, consider choosing a mix of sweet, salty, savory and spicy additions to your soy sauce brine.

Prep Your Equipment
It’s also important to prepare your equipment ahead of time. Start by gathering your brining container and making space in the fridge or cooler.
You need a container large enough to hold your turkey submerged in 2 gallons of water. You’ll also need to keep it cool while it soaks at least 8 hours or overnight.
Here are a few options, depending on where you have space:
- A large lidded stock pot or a food-safe bucket with lid
- The crisper drawer from your fridge, lined with a large brining bag or oven-roasting bag (you’ll need to tie this bag once it’s filled)
- A cooler with ice
How to Brine a Turkey With Tamari
Once you’ve gathered your ingredients and prepped the space and equipment, you can start the process of brining your turkey. Follow this step-by-step guide for the best results:
- Remove the neck and giblets from the turkey. Rinse the turkey well, inside and out. Place the turkey breast side down in your prepared container.
- In a medium saucepan, heat a small amount of the water, about 1 cup. Add the salt and heat until dissolved. Once dissolved, remove from heat and add the bottle of Tamari Soy Sauce. Then, if using, add sugar and/or aromatics of choice.
- Pour the brine solution over the turkey, and then pour the remaining cold water over the turkey.
- Cover and place in the fridge to brine for 8 hours or overnight.
- Once brining is complete, rinse the turkey with cold water, then pat dry with paper towels. Next, thoroughly clean your sink to get rid of any residue from the raw turkey.
- You can then roast the turkey or loosely cover it and return it to the fridge for another 24 hours until ready to cook. Waiting another 24 hours will result in crispier skin.
- Roast the turkey as usual. Check the turkey’s temperature about an hour before the end of cooking time, as brined turkeys may cook more quickly.
If you’re not familiar with the roasting process, you can check out this recipe for Honey Soy Glazed Turkey with complete roasting instructions.
Helpful Tips for a Successful Turkey
Now that you know how to make a simple turkey brine with soy sauce, you can follow these helpful tips to ensure you get it right on the big day.
1. Start With a Basic Bird
Since brining will add salt to your turkey, you’ll need to start with one that hasn’t been pre-seasoned. Check the label to make sure nothing has been added to the turkey and that you’re getting just the meat and bones.
2. Make Sure There’s Enough for Everyone
When determining the size of turkey you need, estimate 1 pound per serving. One pound per person may sound like a lot, but this measurement accounts for bone weight. Plus a generous measure is always good to allow for leftovers — a staple of the Thanksgiving tradition.
3. Thaw Before Brining
Start with a thawed turkey. Thaw in the fridge, allowing 24 hours per 4 pounds of turkey. That’s 4 days for a 16-pound turkey. A partially thawed turkey will also brine well, continuing the thaw while soaking.
4. Keep Your Turkey Covered
Make sure the soy brine solution completely covers the turkey. If more solution is needed, prepare at a ratio of 1/4 cup salt to 4 cups water. If the turkey starts to float, use a dish to weigh it down.
5. Keep It Cool
Keep the turkey chilled at all times during the brining process, either in the fridge or an iced cooler. If you live in a colder region, consider setting the cooler outside.
6. Don’t Overdo It
Do not brine your soy turkey for over 24 hours. More than this will make the meat too salty.
7. Plan Ahead for Crispier Skin
If you want the turkey to have crispier skin, after rinsing the brine and patting the turkey dry with paper towels, place back in the fridge loosely covered to dry for 24 hours.
8. Boost the Flavor With Bone Broth
After you roast your turkey, save the bones to make bone broth. You can use this broth to make gravy or keep it as a base to make soup with your delicious Thanksgiving leftovers.
For more recipe ideas, visit our recipes page, and find the Tamari Soy Sauce and other Asian sauces you need in a store near you!
Back to Top

